

When constructing new work, I occasionally take photos to document the evolution of a piece from beginning to end.
Taking photos can really help me “see” the work in a new way, especially when I am struggling to make aesthetic decisions.
I rarely create a detailed drawing for a new piece. Usually, it cooks in my head for months or even years. But, in advance of the fabrication of this Menorah titled, “They Whisper Names to Me - I am a channel”, I thought it would be both interesting and informative to build a photo essay of the entire fabrication process.

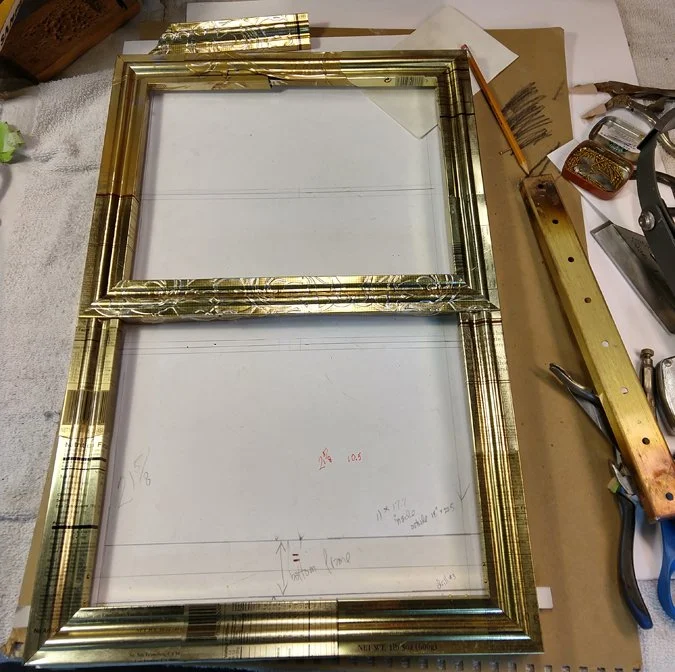
This piece of bristol board (left photo) is the only drawing I made.
The primary purpose of this layout was to draw out the dimensions before starting the fabrication, just to make sure I liked the shape. Initially, the dimensions were actually rather arbitrary, but after accepting this length-to-width ratio, I realized that it measured close to phi - the golden ratio.
Eventually, there was one change between this drawing and the final version. I had planned to construct some molding as support under the windowsill (made from thin recycled tin cans). However, near the completion of the actual fabrication, I decided it didn’t need that supporting element.

Using the same piece of bristol board shown in the previous image, I started laying out the placement of tin cans.
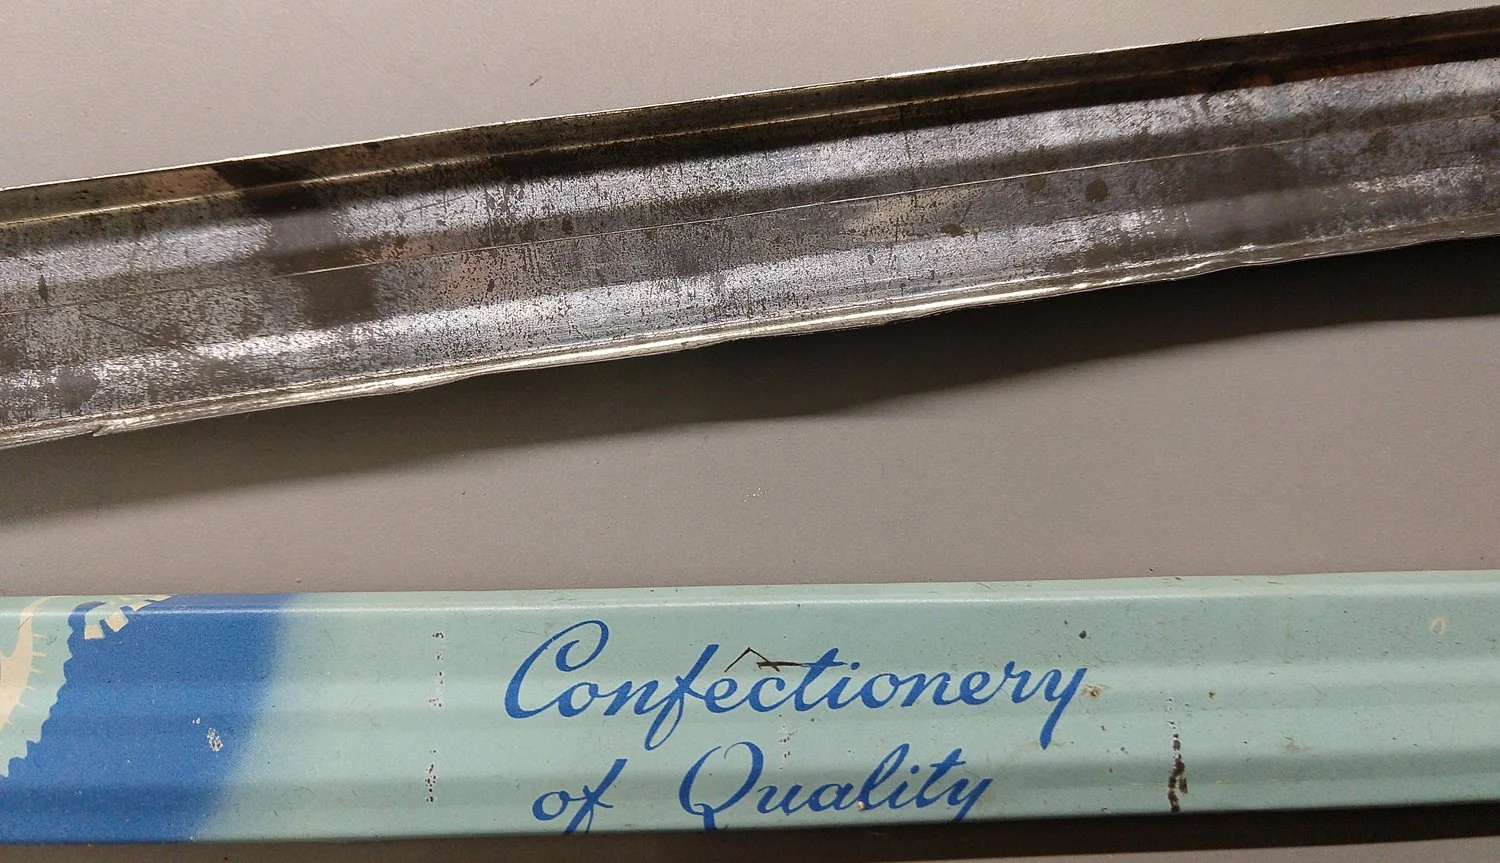
First I wanted to test an arrangement of my first choices for metallic gold tins, to look at the various colors and patterns Many of these tins are the bottoms of the tin can containers. And I wanted to use tins that suggested the “kitchen” if possible, with ingredients, nutrition labels or UPC code of pedestrian products like Grape-Nuts, not fancy cookies.
As you can see some of the tins are embossed.
As I decide the placement of each tin, I start cutting, scribing, folding and forming the tins.
Every step of cutting, scribing, folding and forming has to be done to every piece in the frame within the same working day.
For example, if there are 20 steps in folding and forming each piece for a frame…..I have to fold every piece to the same step before stopping.
If I need to take a break for the day, my folding and bending of the tin won’t be the same on another day. I know this from years of working with tin cans. So I try to make lots of extras to allow for a margin of error
Every piece is supposed to be placed where I first expect it to be….though I will often change my mind during fabrication.
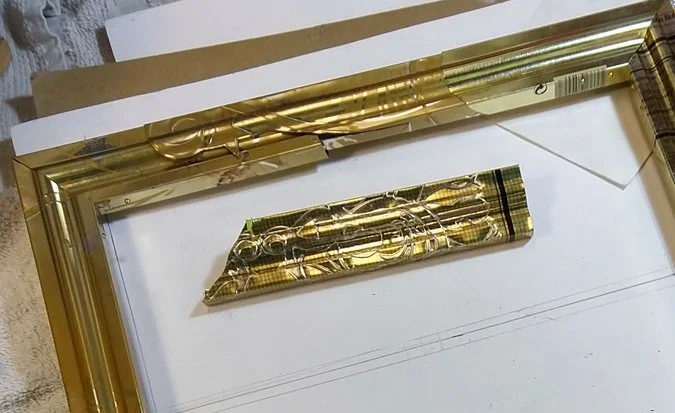
In the photo (above) you can see a sample frame element folded from tin cans. You are looking at the printed side and the raw tin can side. I work very carefully not to damage the printed surface, but these are all post consumer tin cans.
In this photo, the folded elements for the window frame are coming together relatively quickly (in about a month). For this part of the frame, I knew my plan.
The top part of the frame was very complicated…. and hard to explain here. Sometimes, the final assembly becomes very labor-intensive and difficult to maintain the precise dimensions of the entire frame. Since the various tin pieces may be of different thicknesses or different rigidity, it is impossible to know ahead of time and likely to never be repeated again. I just make it work - one time.

Did you recognize the base for the brass menorah to the right side of the window frame of the previous photo?
(Photo left) This is a close-up of the menorah’s base in progress. I often work on several elements at the same time. Admittedly, It does look very good. I cut, folded, and soldered the brass. The soldering causes significant discoloration. The holes were drilled for the candle cups before polishing.
Also, note the box of 0-80 small brass screws. 0-80 is a very small size 3/8” long.

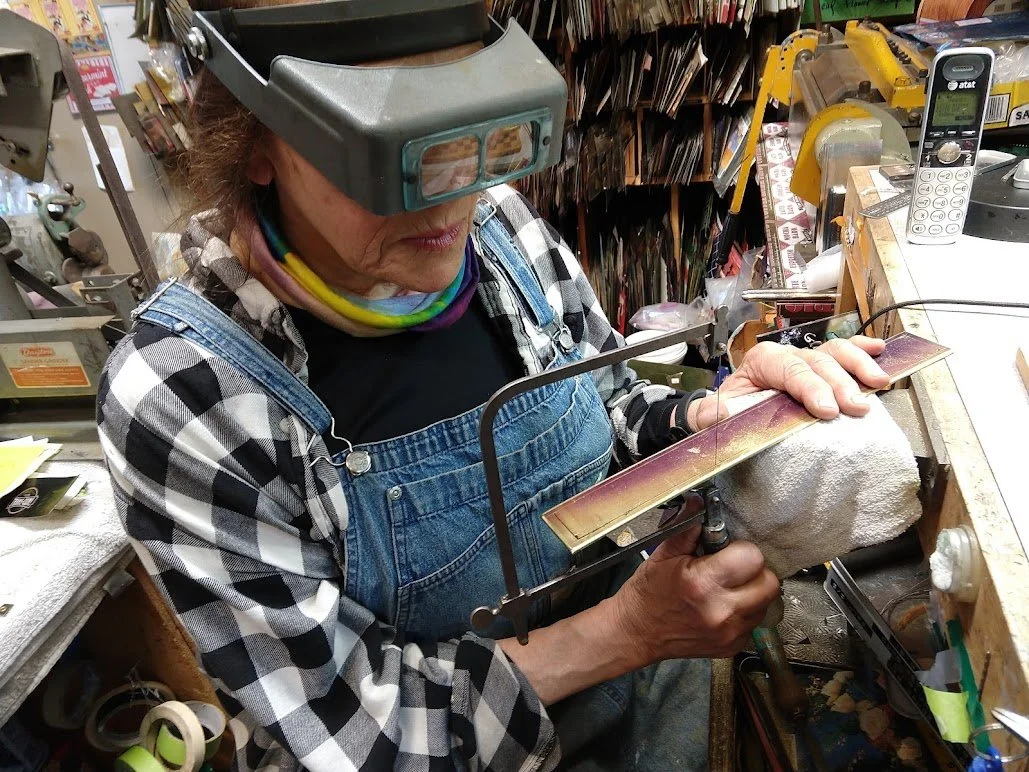
Harriete Estel Berman is using a bending brake to bend and fold tin cans. This particular bending brake is from the 1940’s/1950’s. Older sheet metal equipment is much better quality than the newer bending brakes that are cheaply made. Buy the best you can afford.

After the window frame was constructed, I started working on the sky.
Fabricating the sky was excruciating, labor-intensive, and time consuming. How can a painter know every stroke of paint in advance, and yet I was trying to “paint with tins and patterns” to create some sense of a sky.
Every evening or night, my husband and I would go for a walk during the turbulent winter of early 2021 and look at the drifting clouds and feel the wind. How could I capture those fleeting images of a sky with tin cans? Could it be done?

The layers of the sky in tin cans progressed but I was having a hard time.
I would take a lot of photos and send them to my favorite critics, my daughter and my mother. They are both brutally honest — which is what I needed.
For the sky, there were probably about five or six sections that I would work on simultaneously. One part would start looking good, or get stuck. This was very hard to do, and extremely discouraging. My goal was to work at least four hours a day on the sky.
Below you will see a side-by-side comparison of the sky in tin cans.
Notice how the Trivial Pursuit can on the upper left of the left photo looks so green and iridescent and distracting. Sometimes this same tin (right photo) looked inky black and dark . It depended on how the light was reflected. I love this particular tin, but ultimately decided that the Trivial Pursuit tin was distracting. It had to come out.


If you look at the sky in the photos above, you can see the scotch tape holding the pieces of tin together. Scotch tape is my favorite way to put things together.
Every piece of sky was eventually riveted in place with little tiny sterling silver rivets. This takes hours and hours. You can see me riveting in the JEWELRY episode where I am riveting a bracelet.

As the sky was getting closer to being finished, I took more photos.
Notice how the image of the Sutro Tower is only taped down.
The Sutro Tower was cut out of a black tin can printed with metallic figures and machinery. It worked out perfectly, but it took hours to make the decision for what tin to use.
At this point, I sent a photo to my daughter Aryn for more feedback. She suggested that I create a way to push the Sutro Tower silhouette forward away from the sky.
In this photo, look at the bottom of the frame. You can see that I am starting to construct the window sill support that would eventually hold the Menorah. The window sill that holds the Menorah has a lot of internal support that cannot be seen.

Compare the Sutro Tower in this fabrication shot to the previous photo.
I cut a second layer for the Sutro Tower in metallic tins to create a reveal making it look like the sun was catching the edge of the communications tower.
This extra metallic layer made the Sutro Tower stronger and visually pushed the silhouette image of Sutro Tower away from the sky. It is also floating in the air about an 1/8” away from the sky. In summary, both the metallic reveal, and floating the layer away from the background gave this more presense.
In this photo, lots of masking tape and scotch tape still hold this together.
In this photo, I am cutting out the support for the Menorah out of very thick brass sheet.
This brass is thick and sturdy and difficult to saw by hand. (It’s good that I lift weights.)
Constructing the window sill and display for the Menorah was many steps….truly too many to articulate. It took another couple of weeks. I was starting to panic. The entire piece took much longer than I planned. I already had been given a two-month extension from the exhibition sponsors, but a real deadline was fast approaching to allow photos to be taken for the catalog. I was running out of time. The final weeks of fabrication included a lot of pressure to get this finished. The video crew from Craft In America was coming and I still needed to clean my studio.

The window sill was constructed from multiple layers of tins. The Menorah is made of folded brass sheet. The Menorah candle cups were custom molded and cast from a 19th century Menorah as a connection to the past. The solid brass Menorah is easily removable for cleaning or polishing.
The offset of the Menorah on the window sill was a suggestion from my friend Sara who was invited over for a critique. Getting frequent feedback is important throughout the development of a new piece. Waiting until the end is too late. I want my work to be critically evaluated while it is in progress so that there is room for improvement. I only make one-of-a-kind work, so every piece presents new obstacles and opportunities.

The Menorah, titled, “They Whisper Names to Me - I am a channel” can be seen in this short video segment from Craft In America on PBS where I talk about the inspiration behind this work.